IMAER-QGIS-plugin
QGIS plugin for working with AERIUS IMAER files
Project maintained by aerius Hosted on GitHub Pages — Theme by mattgraham
- Index
- Generate Calculator Input
- Import Calculator Results
- Relate Calculator results
- Connect - Receptor Sets
- Connect - Jobs
- Configuration
![]()
Import Calculator results
Import Calculator result .gml files and add the results as QGIS vector layers.
Howto
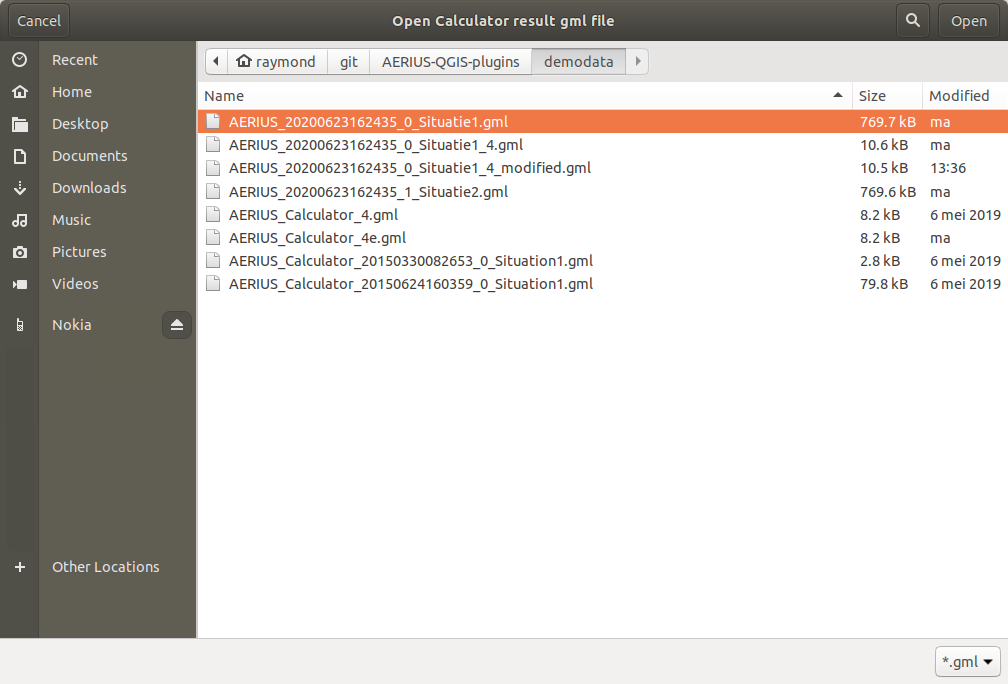
Click the import button in the IMAER toolbar and browse to the downloaded IMAER GML file from Aerius Calculator. (Make sure you downloaded the “GML with calculation results”.)
The data will be converted into a GeoPackage (.gpkg) file at the same location your GML file is placed. Make sure you have write access to that directory.
After conversion, the calculation results will be opened as vector layer(s) in QGIS. The layers appear in a layer group, which has the name of the imported .gml file. All layers get a style similar to the style used in the web interface.
You can use all standard QGIS functionality for viewing, analysing and editing the data.
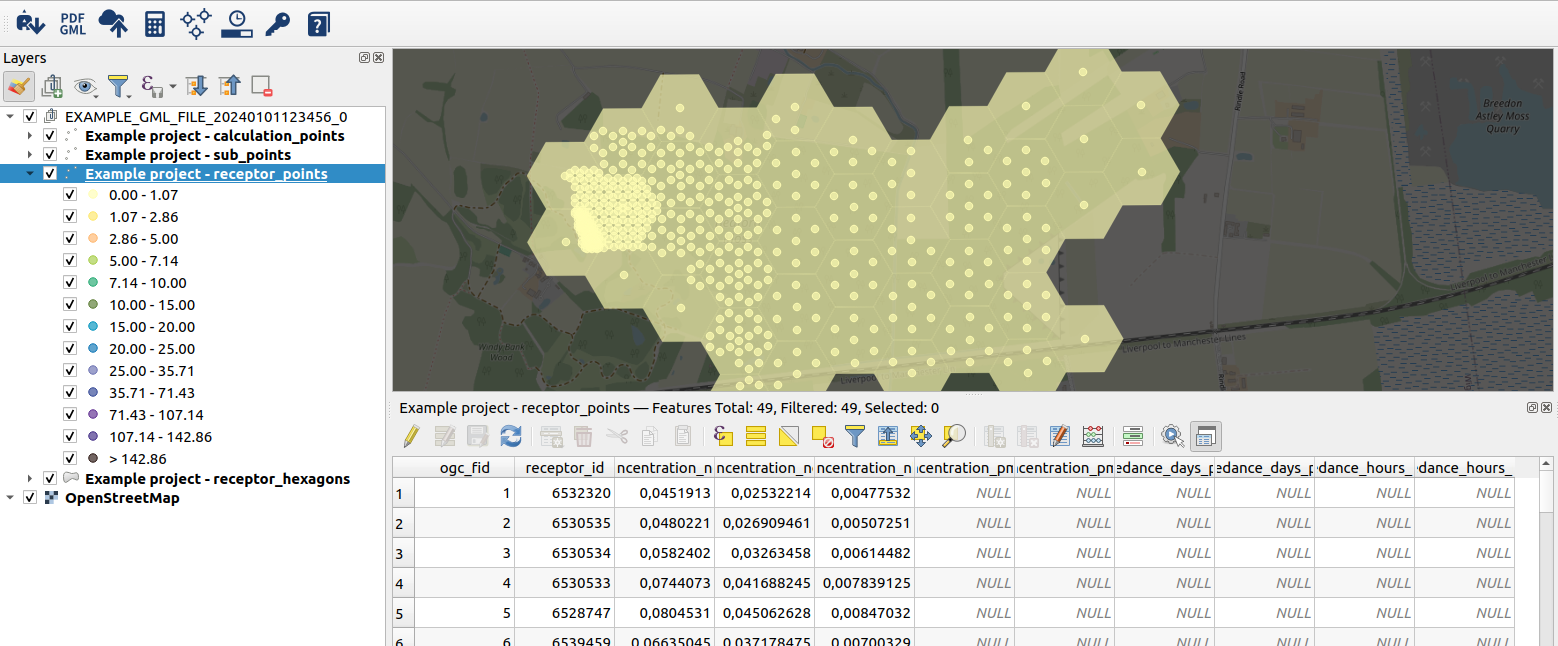
Result layers
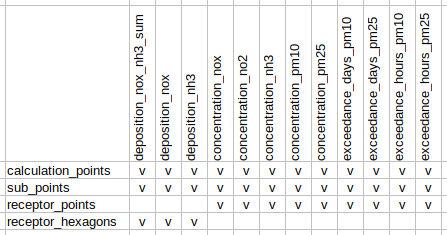
An IMAER calculation result .gml file can hold up to 3 different feature types: CalculationPoint, SubPoint and Receptor. Receptor features are split into a point and a polygon (hexagon) layer. Hexagons contain deposition results and points contain concentration results. For convenience, the depositions are summarized in the field depositions_nox_nh3_sum.
Layer names:
<Situation Name> - calculation_points<Situation Name> - sub_points<Situation Name> - receptor_points<Situation Name> - receptor_hexagons
Emission sources
The plugin can only extract calculation results from the .gml. If you need a map layer of your emission source data, simply drag and drop your .gml file from your file browser into the QGIS map and QGIS will try to find all geometries in the .gml file. No guarantees, but it often simply works.
Remarks
- Supported IMAER versions: 6.0.x